Subject Clinical Data Capture
This guide covers how to record clinical data for an enrolled subject. Each subject record has eight data sections accessible from the Subject Navigation panel on the left side of the screen.
Target Audience
| Role | Access |
|---|---|
| Study Coordinator | Full data entry access for assigned subjects |
| Principal Investigator | Read-only review access |
Subject Record Overview
After clicking a subject's name from the Subjects tab, you land on their record. The screen is divided into two areas:
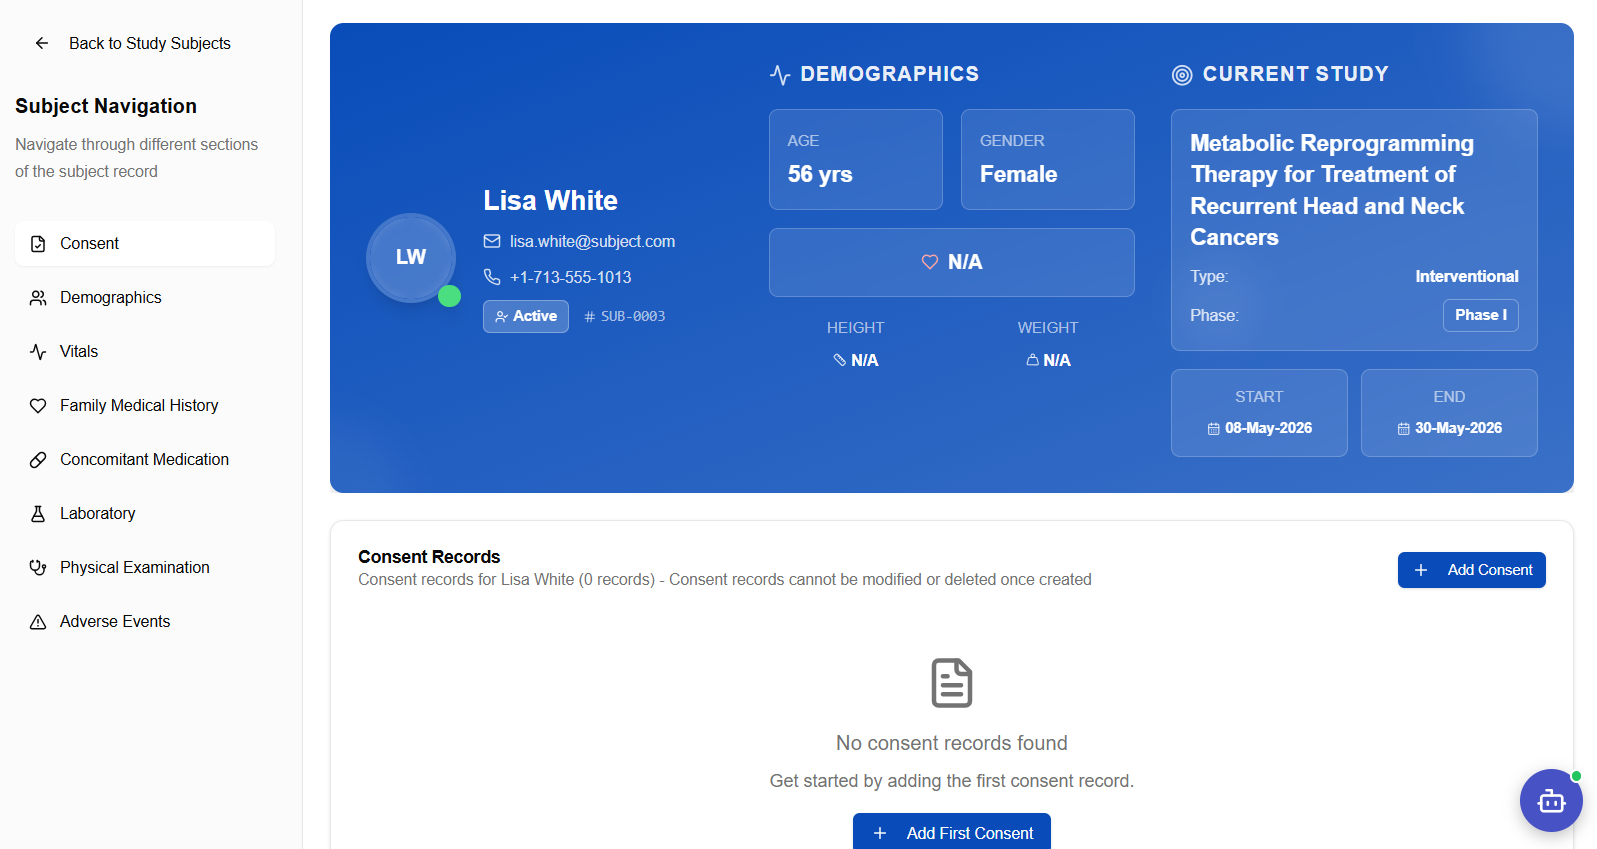
Left panel — Subject Navigation: Links to each of the eight clinical data sections. Click any section to jump to it.
Right panel — Subject Header Card: Displays the subject's key information at a glance:
| Field | Description |
|---|---|
| Name & Avatar | Subject's full name with initials avatar |
| Email / Phone | Contact details from the patient record |
| Status badge | Active, Withdrawn, Completed, etc. |
| Subject ID | System-generated ID (e.g., SUB-0003) |
| Demographics tile | Age and Gender |
| Current Study | Study name, type, phase, start and end dates |
| Height / Weight | Updated after a Vitals record is saved |
The main content area below the header card shows the currently selected data section.
Consent
The Consent section is the starting point for every subject record. Consent records are permanent — they cannot be modified or deleted once saved.
Once a consent record is created it cannot be edited or deleted. Verify all details before saving.
Recording Consent
- Click Consent in the Subject Navigation panel
- Click + Add Consent (top right) or Add First Consent
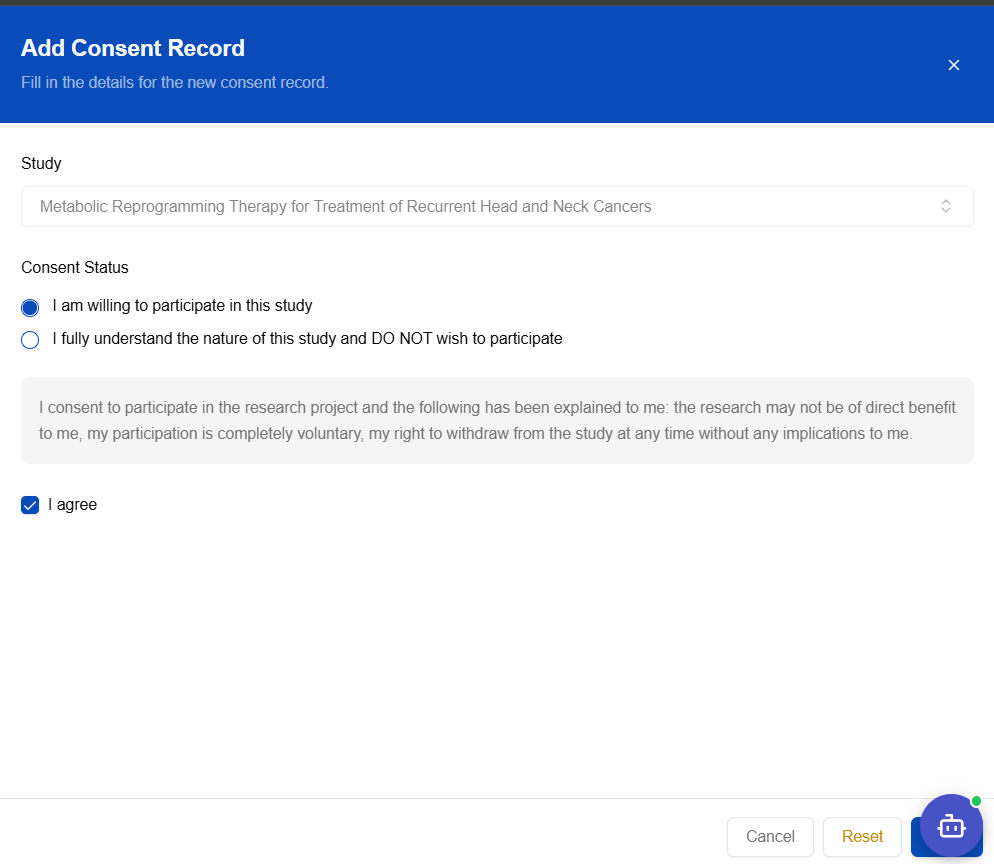
- The Add Consent Record form opens:
| Field | Required | Notes |
|---|---|---|
| Study | Pre-filled | The study the subject is enrolled in |
| Consent Status | ✅ | Willing to participate or Does not wish to participate |
| Consent Statement | Read-only | Standard ICF statement displayed for reference |
| I agree | ✅ | Checkbox confirming the subject has agreed |
- Select the appropriate consent status, check I agree, then click Save
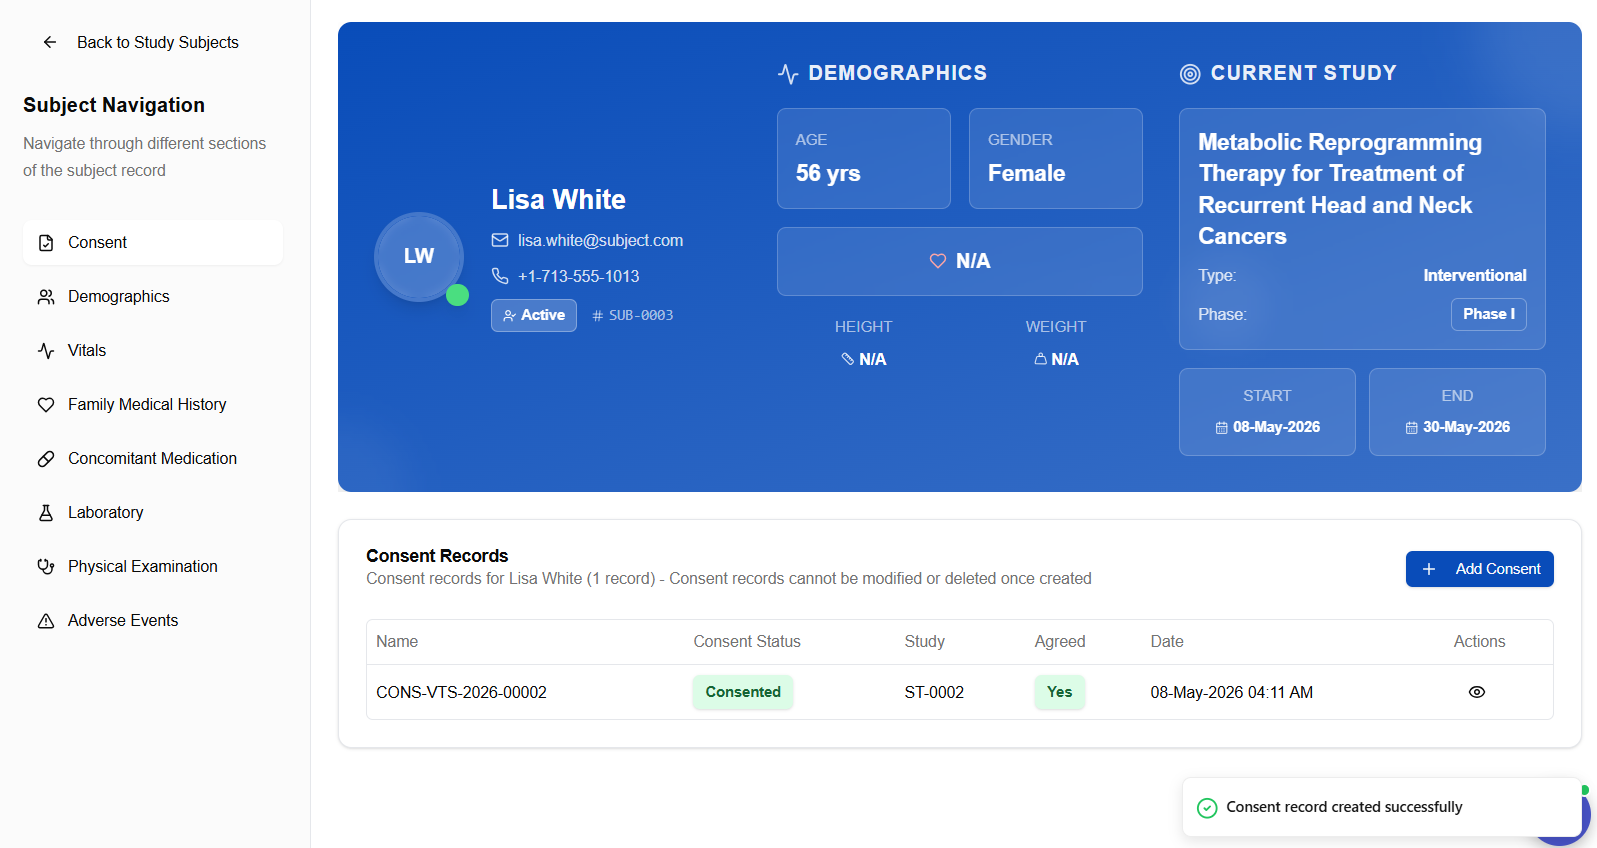
Consent Approval Screen
After saving, the consent record is displayed with approval details:
Demographics
The Demographics section records the subject's baseline personal and physical characteristics.
Demographics Overview
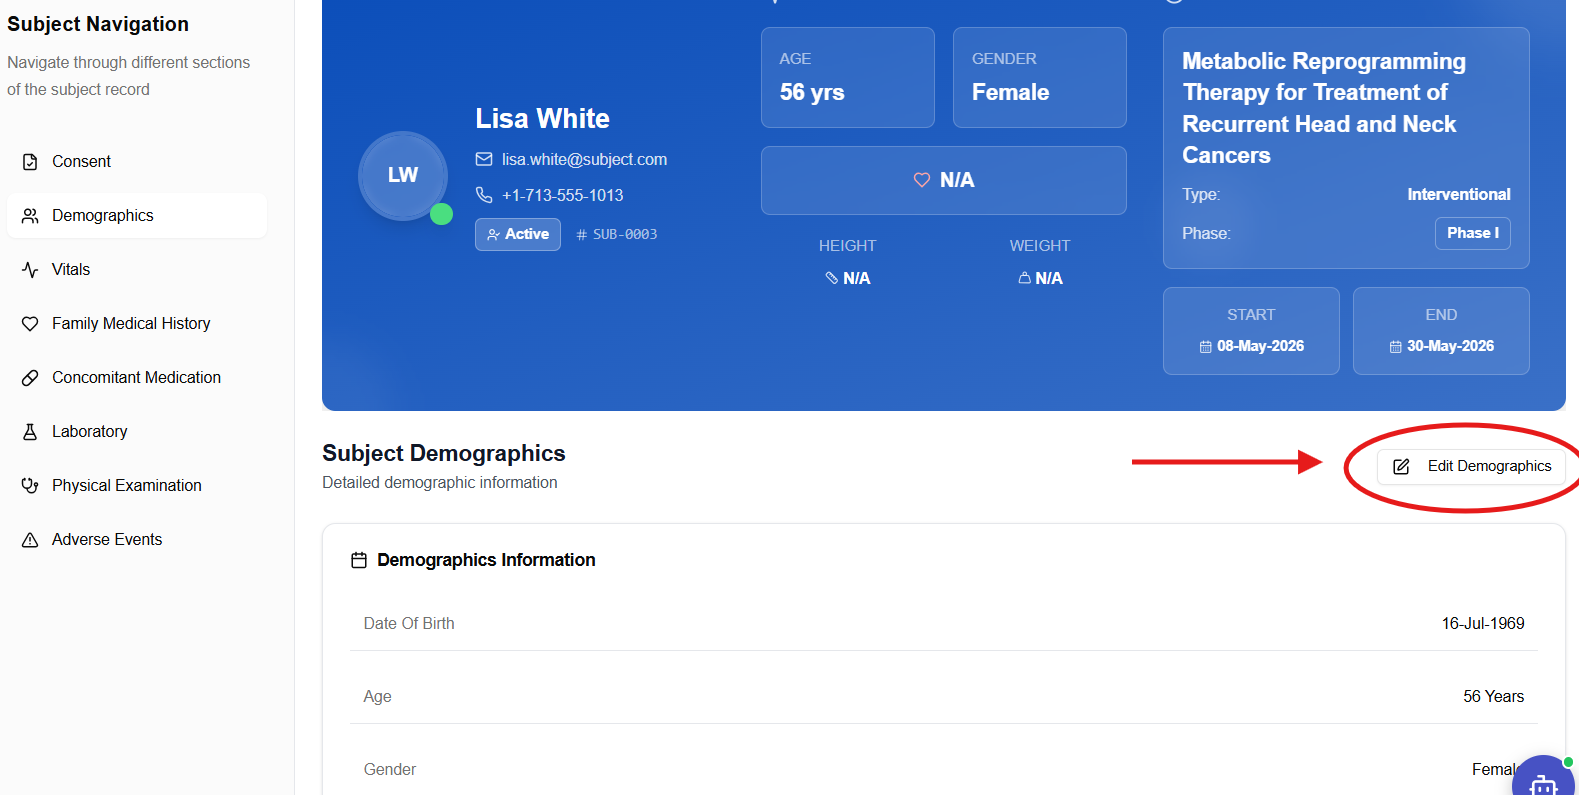
Recording Demographics
- Click Demographics in the Subject Navigation panel
- Click + Add Demographics
- Fill in the demographics form:
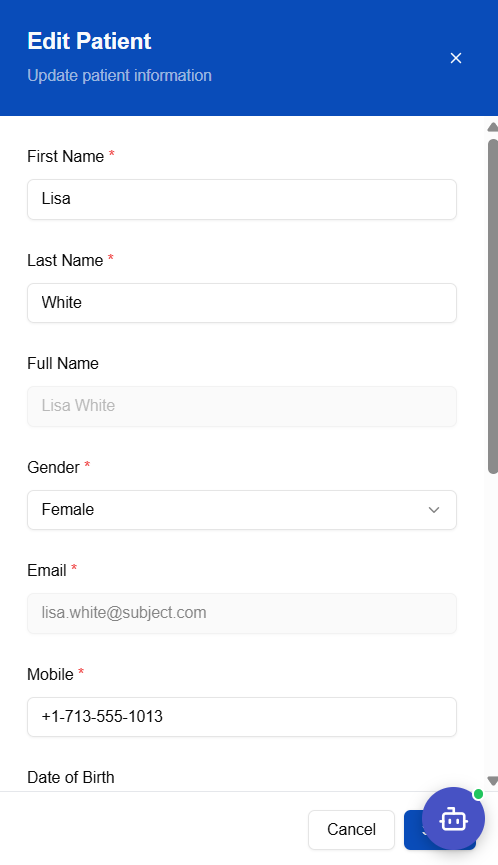
The form collects personal details including date of birth, gender, nationality, and address fields. Click Save when complete.
Vitals
The Vitals section records physical measurements at each study visit. Multiple vitals records can be created — one per study event/visit.
Vitals Overview
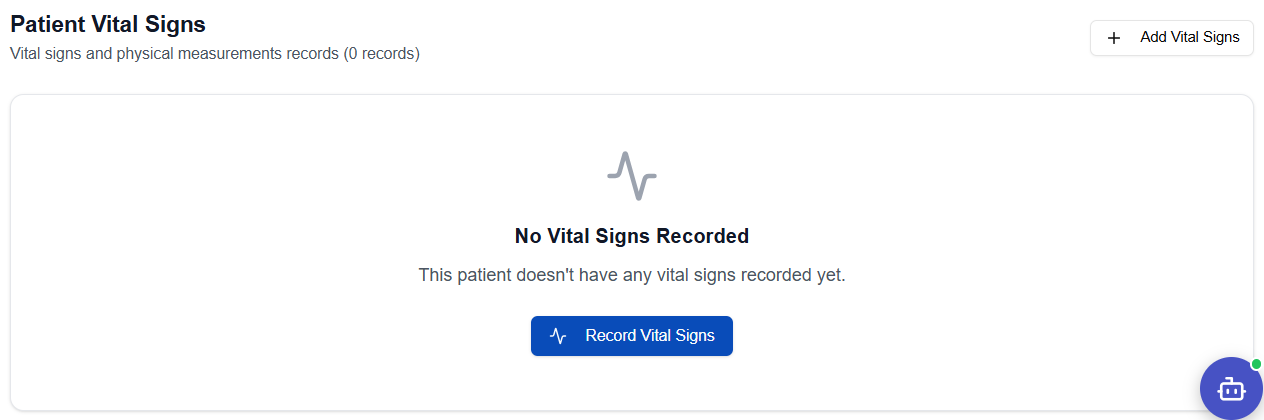
Recording Vital Signs
- Click Vitals in the Subject Navigation panel
- Click + Add Vitals
- Fill in the Edit Vital Signs form:
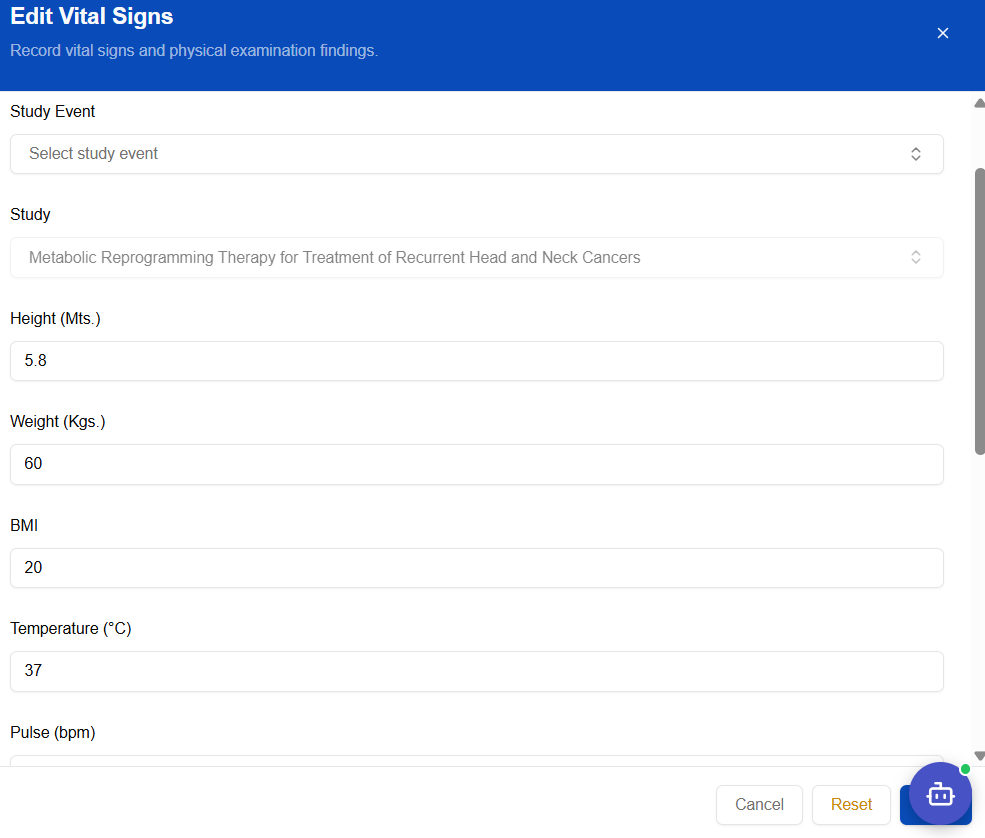
| Field | Unit |
|---|---|
| Study Event | Select the visit (e.g., Baseline Visit, Follow-up) |
| Study | Pre-filled |
| Height | Metres |
| Weight | Kilograms |
| BMI | Auto-calculated or manual |
| Temperature | °C |
| Pulse | bpm |
- Click Save — the record appears in the Vitals list:
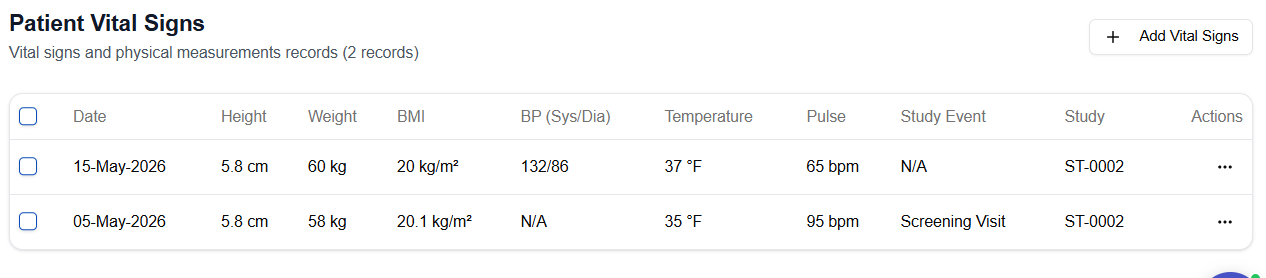
Height and Weight saved here will also update the subject header card at the top of the record.
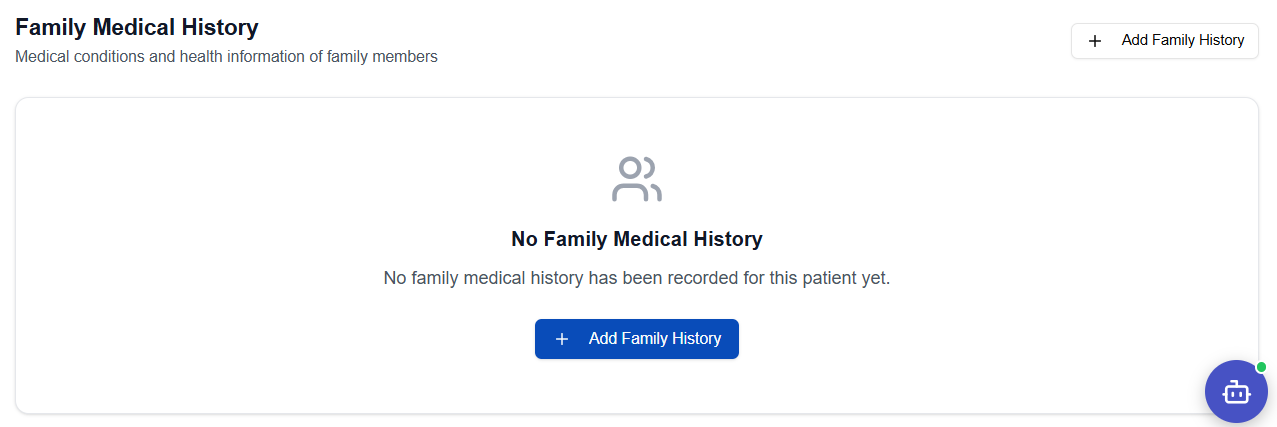
Family Medical History
Records the subject's family history of medical conditions relevant to the trial.
Family Medical History Overview
Recording Family Medical History
- Click Family Medical History in the Subject Navigation panel
- Click + Add Family Medical History
- Fill in the form:
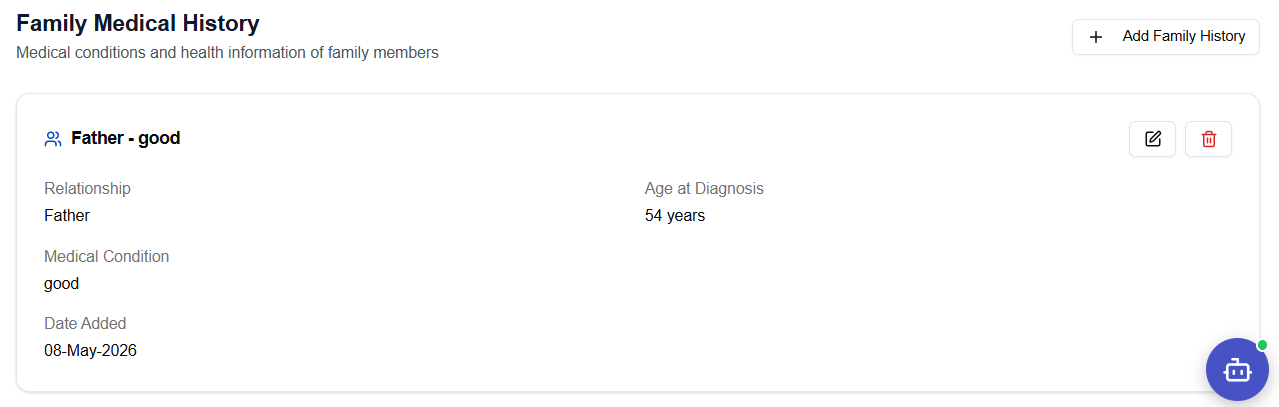
Record the family member's relationship, diagnosis, and any relevant notes. Click Save.
Concomitant Medications
Records all medications the subject is taking concurrently with the trial treatment.
Concomitant Medications Overview

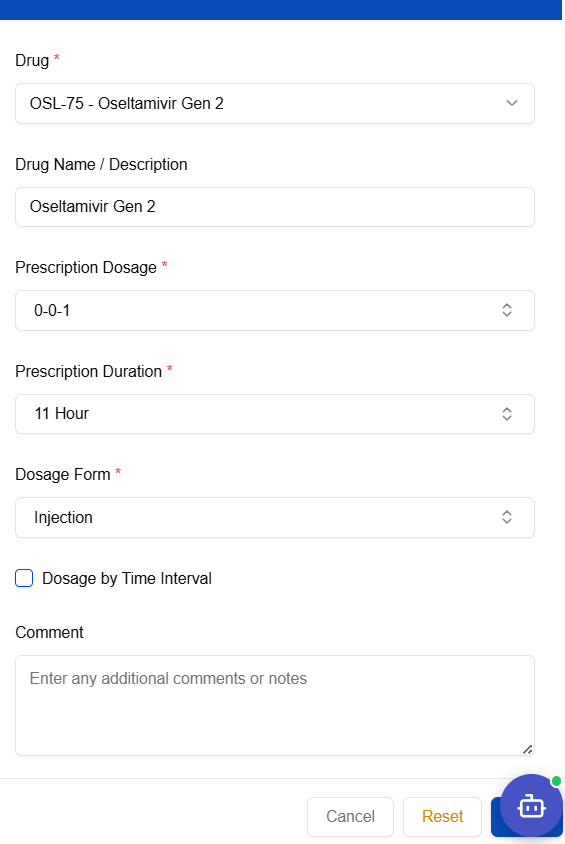
Recording a Medication
- Click Concomitant Medication in the Subject Navigation panel
- Click + Add Medication
- Fill in the medication entry form:
- Click Save — the medication appears in the list:
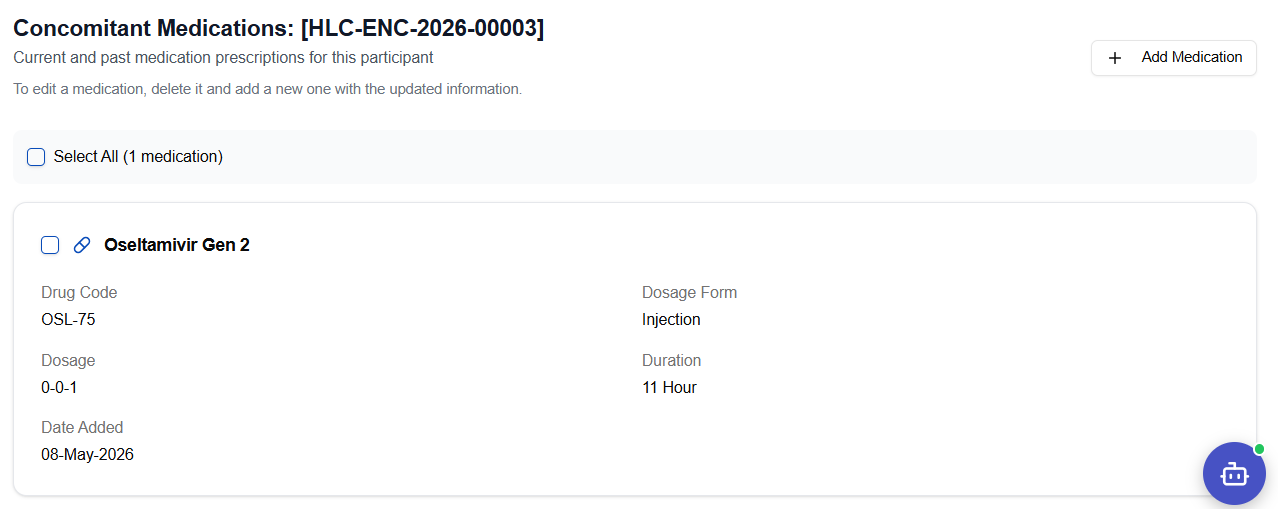
Subjects can also self-report concomitant medications via the Sublink mobile app, which will appear here for coordinator review.
Laboratory Results
Records laboratory test results for the subject at each study visit.
Laboratory Results Overview
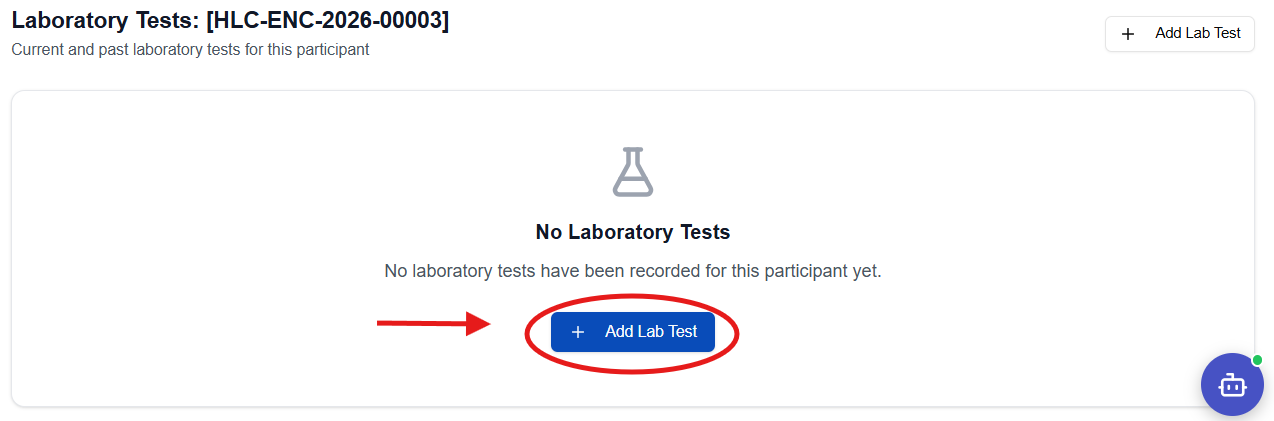
Recording a Lab Test
- Click Laboratory in the Subject Navigation panel
- Click + Add Lab Test
- Fill in the Add Lab Test form:
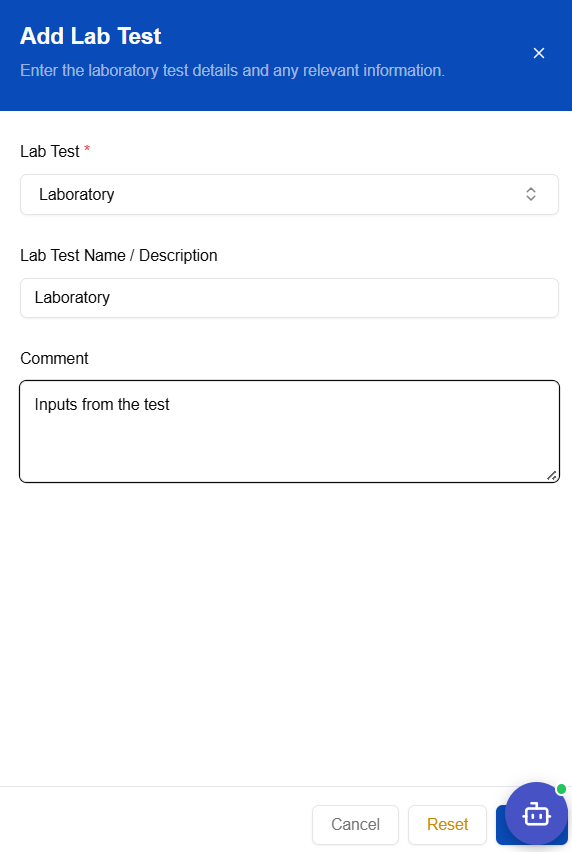
| Field | Required | Notes |
|---|---|---|
| Lab Test | ✅ | Select from the master data list (e.g., Laboratory) |
| Lab Test Name / Description | ✅ | Specific test name |
| Comment | — | Observations or notes from the lab |
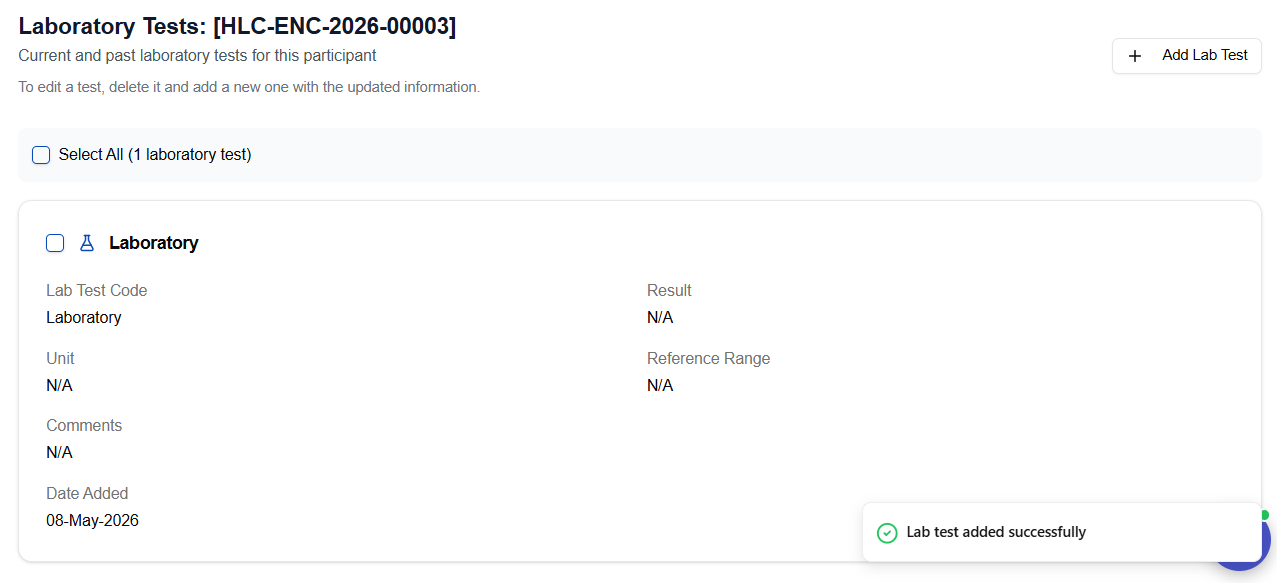
- Click Save — the result appears in the list:
Physical Examination
Records findings from physical examination at each visit.
Physical Examination Overview
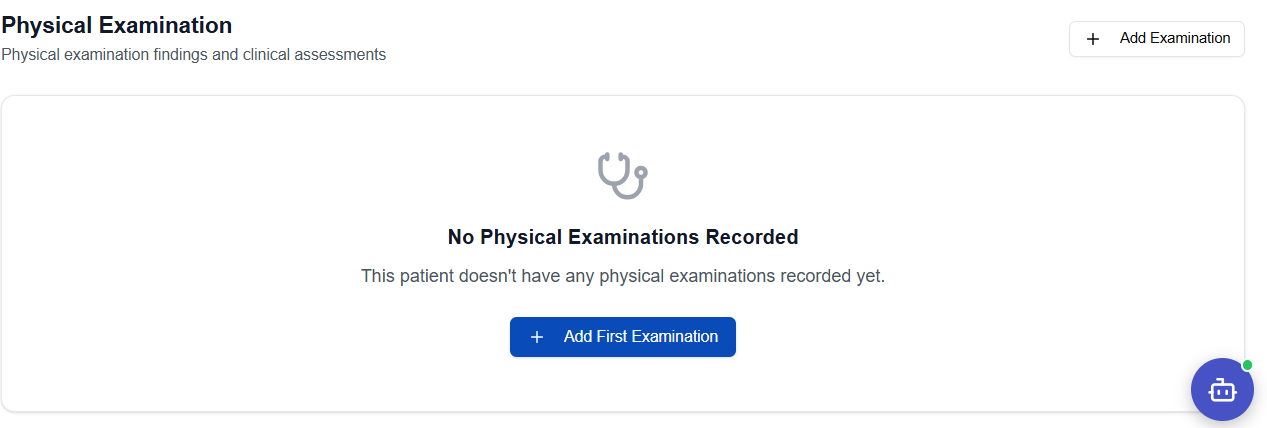
Recording a Physical Examination
- Click Physical Examination in the Subject Navigation panel
- Click + Add Physical Examination
- Fill in the examination form with system-by-system findings:
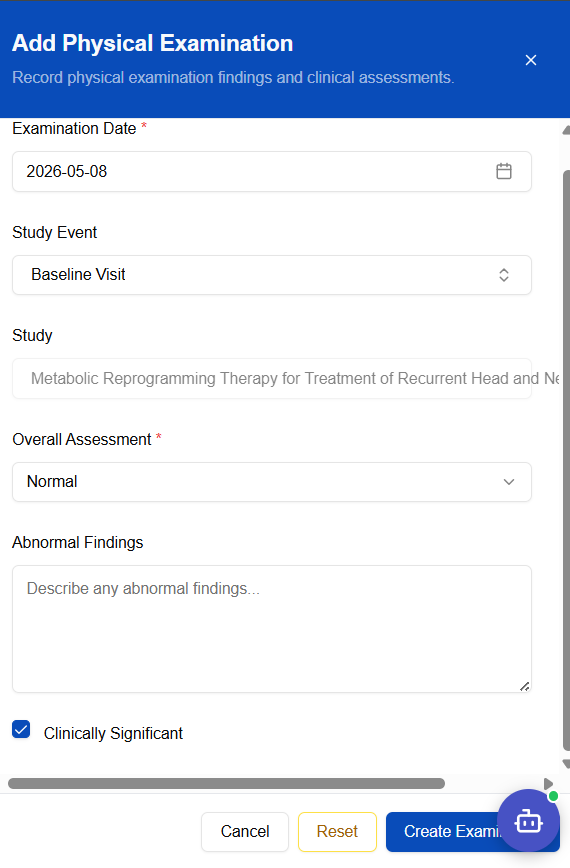
Click Save when all findings are recorded.
Adverse Events
Records any adverse events experienced by the subject during the trial. All adverse events are tracked for safety monitoring.
Adverse Events Overview
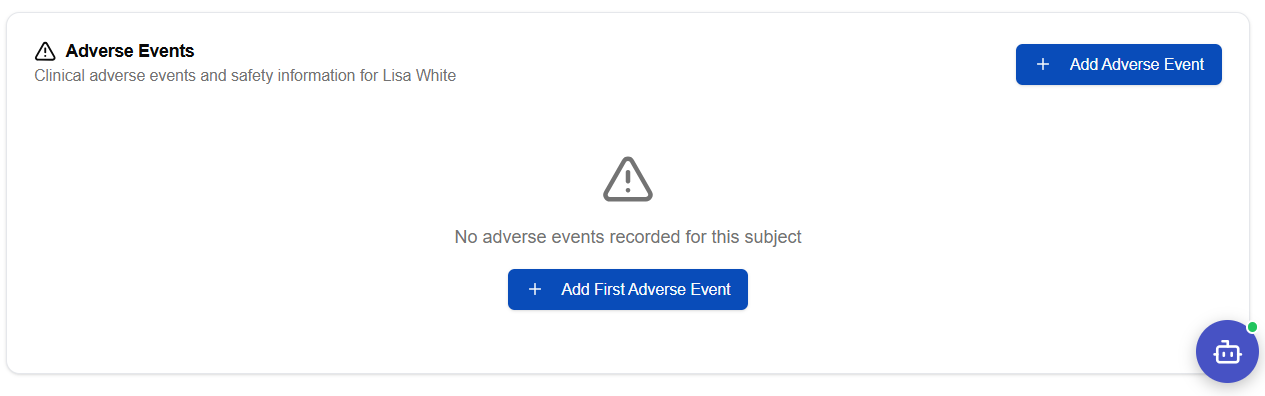
Recording an Adverse Event
- Click Adverse Events in the Subject Navigation panel
- Click + Add Adverse Event
- Fill in the Add Adverse Event form:
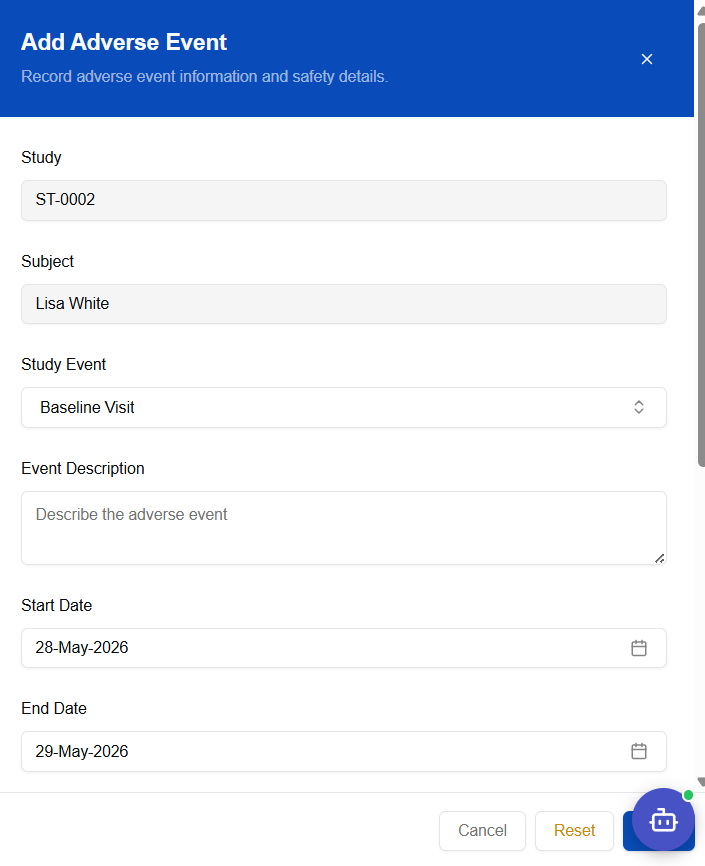
| Field | Required | Notes |
|---|---|---|
| Study | Pre-filled | Auto-populated from the subject's study |
| Subject | Pre-filled | Auto-populated from the subject record |
| Study Event | ✅ | Visit during which the event occurred (e.g., Baseline Visit) |
| Event Description | ✅ | Detailed description of the adverse event |
| Start Date | ✅ | Date the event began |
| End Date | — | Date the event resolved (leave blank if ongoing) |
- Click Save — the event appears in the list:
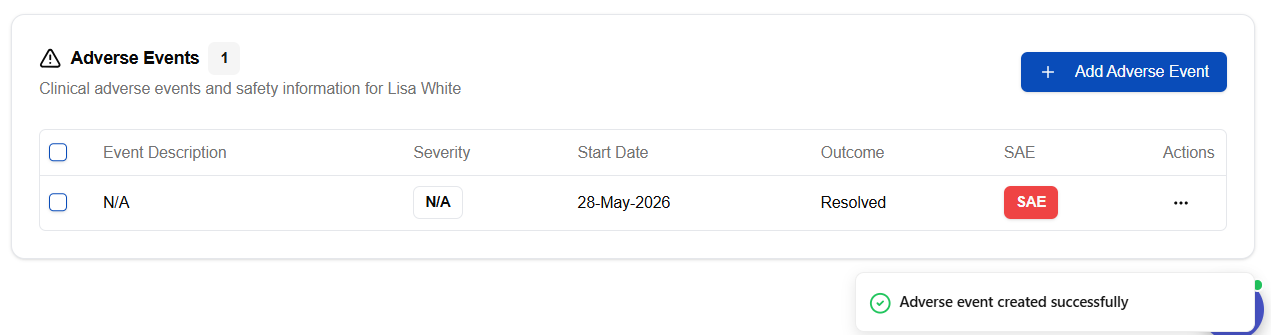
Serious adverse events (SAEs) must be reported promptly per your site's regulatory obligations. The CTMS records the event — follow your site's SAE escalation process separately.
Quick Reference — All Data Sections
| Section | Left Nav Item | Add Button Label | Key Fields |
|---|---|---|---|
| Consent | Consent | + Add Consent | Consent Status, I agree |
| Demographics | Demographics | + Add Demographics | DOB, Gender, Nationality |
| Vitals | Vitals | + Add Vitals | Height, Weight, BMI, Temp, Pulse |
| Family Medical History | Family Medical History | + Add Family Medical History | Condition, Relationship |
| Concomitant Medications | Concomitant Medication | + Add Medication | Drug Name, Dose, Frequency |
| Laboratory Results | Laboratory | + Add Lab Test | Lab Test, Name, Comment |
| Physical Examination | Physical Examination | + Add Physical Examination | System findings, Notes |
| Adverse Events | Adverse Events | + Add Adverse Event | Event Description, Start Date, Study Event |