Study Design (Protocol Design)
This guide walks you through the process of creating and configuring a clinical study in the Clinical Trial Management System (CTMS).
Studies Module
Navigate to Studies in the sidebar to see all clinical studies. Each row shows the Study ID, Study Name, Description, Type, Phase, Expected Subjects, Start Date, End Date, and Auto Disable status.

Click a Study ID to open an existing study, or click + Add Study to create a new one.
Target Audience
| Role | Access Level |
|---|---|
| Study Designer | Full access to create and configure studies |
Only users with the Study Designer role can create and publish studies.
Workflow Overview
The study design process follows these steps:
- Create Study — Fill in study overview details
- Set Eligibility — Define inclusion/exclusion criteria
- Assign Sites — Link trial sites to the study
- Assign Personnel — Add Study Coordinators and Principal Investigators
- Assign Subjects — Enroll participants and link to coordinators
- Assign eCRFs — Attach Case Report Forms for data collection
Step 1: Create Study
- Navigate to Studies from the sidebar menu
- Click + Add Study (top right)
- A New Study slide-over panel appears — fill in the required fields:
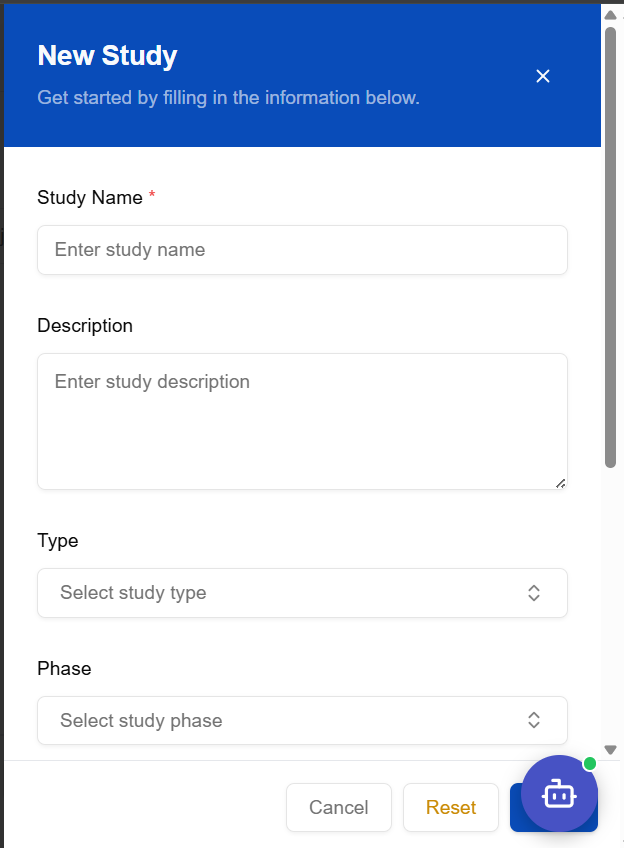
| Field | Required | Notes |
|---|---|---|
| Study Name | ✅ | Unique name for the trial |
| Description | — | Brief summary of the study objective |
| Type | ✅ | Interventional or Observational |
| Phase | ✅ | Phase I, II, III, IV |
- Scroll down in the panel to fill in dates and expected subjects, then click Save
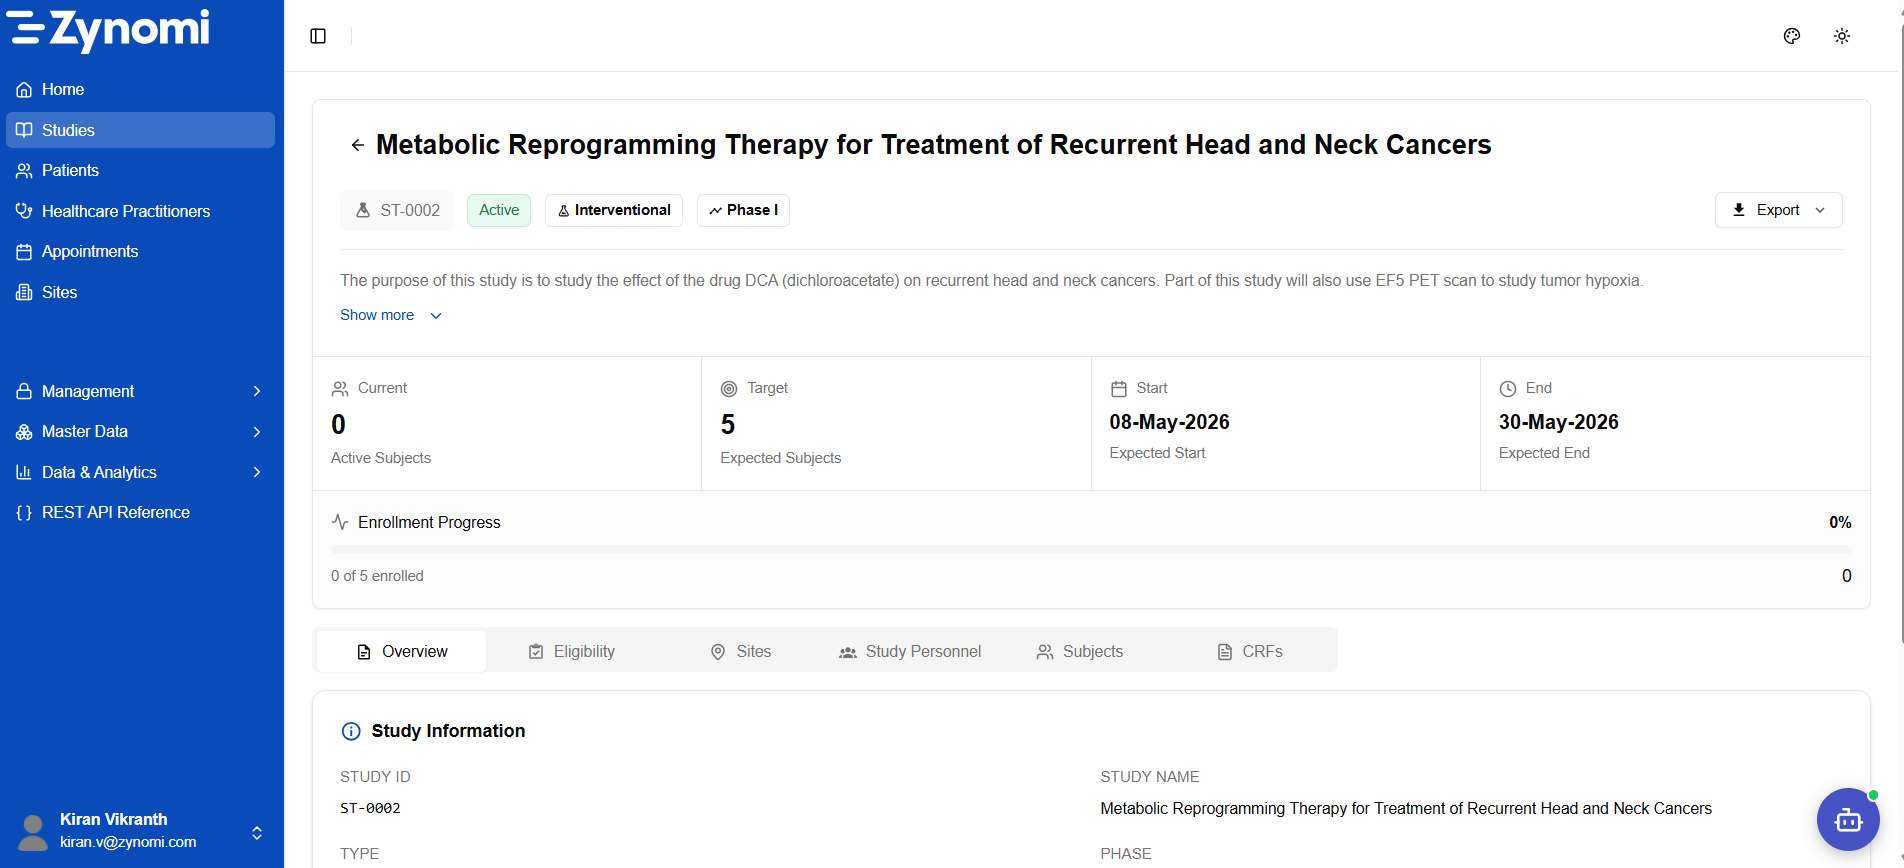
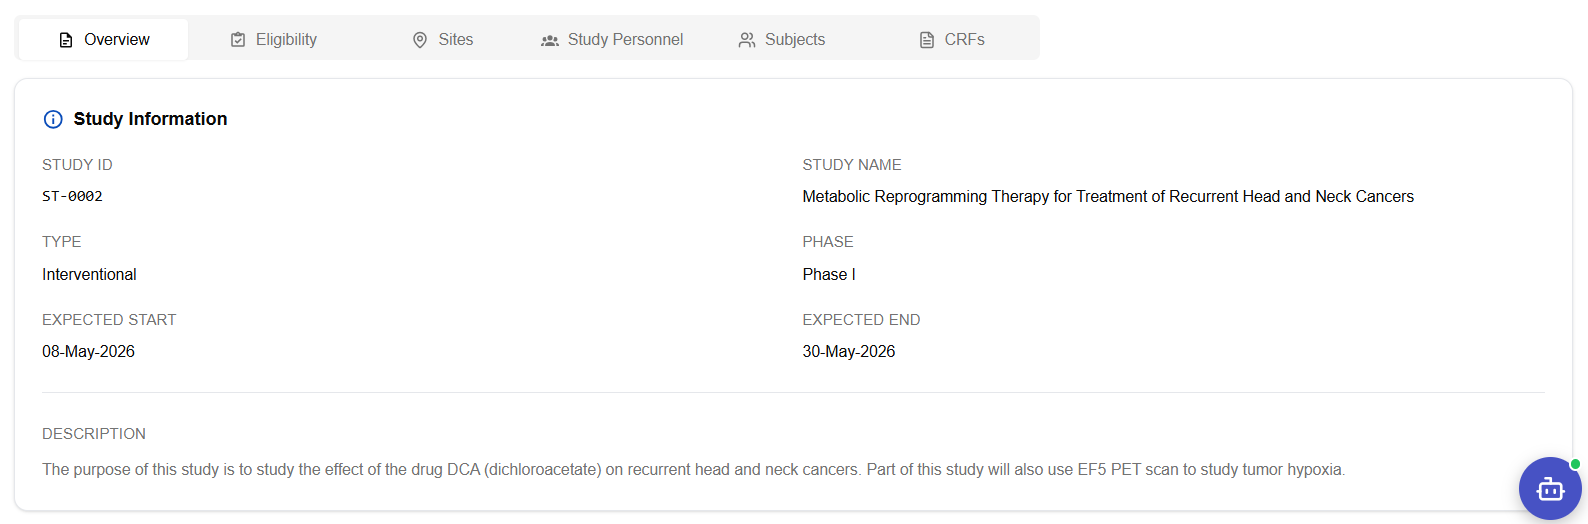
Once saved the study opens to its Detail view — showing status badge, enrollment progress, and six configuration tabs:
Step 2: Set Eligibility
Define the inclusion and exclusion criteria for participant enrollment.
- Open the study and go to the Eligibility tab
- Add eligibility criteria as needed
Eligibility criteria configuration is available in the Eligibility tab. Define inclusion and exclusion criteria to guide subject enrollment.
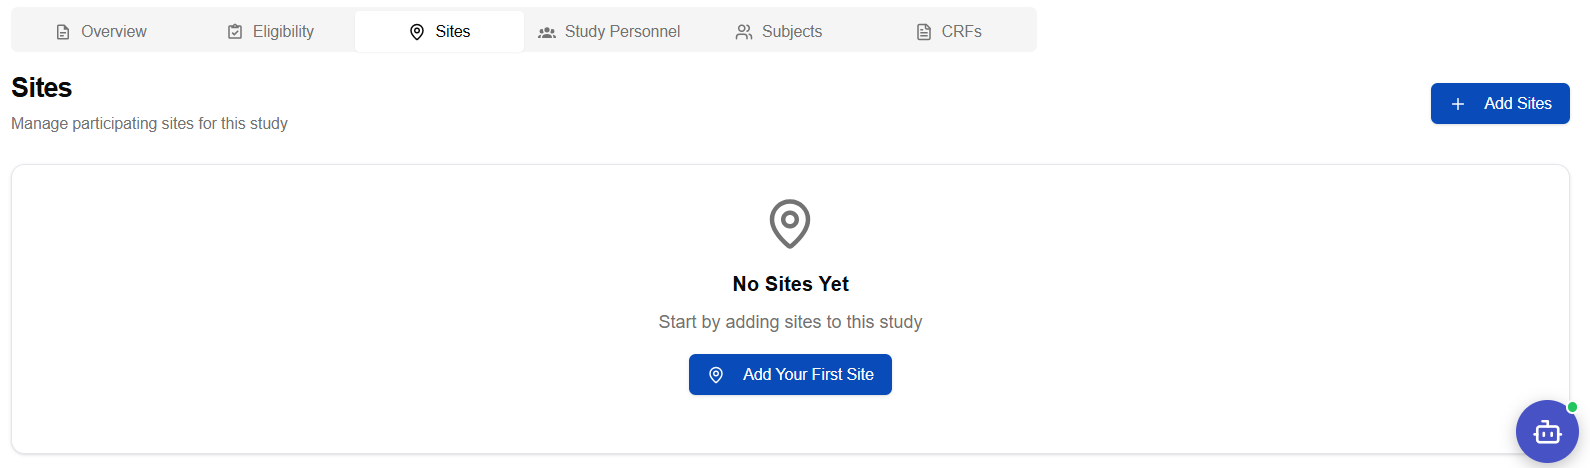
Step 3: Assign Sites
Link clinical trial sites where the study will be conducted.
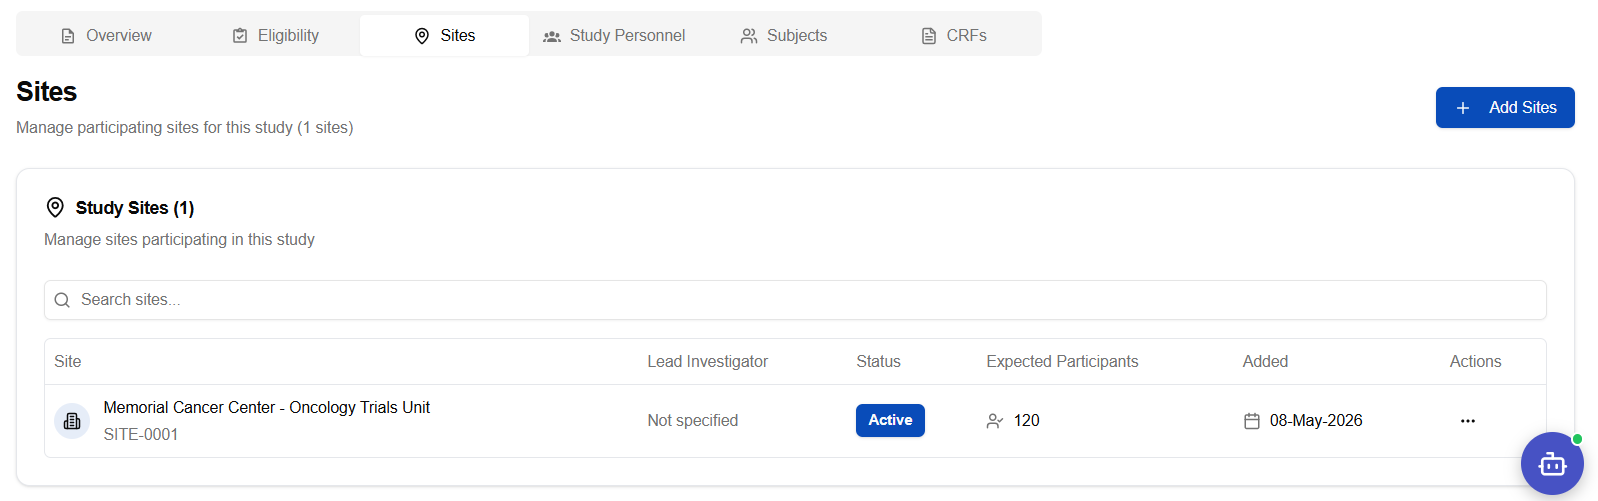
- Navigate to the Sites tab
- Click Add Site
- A site search panel opens — type to filter available sites:
- Select a site from the search results:
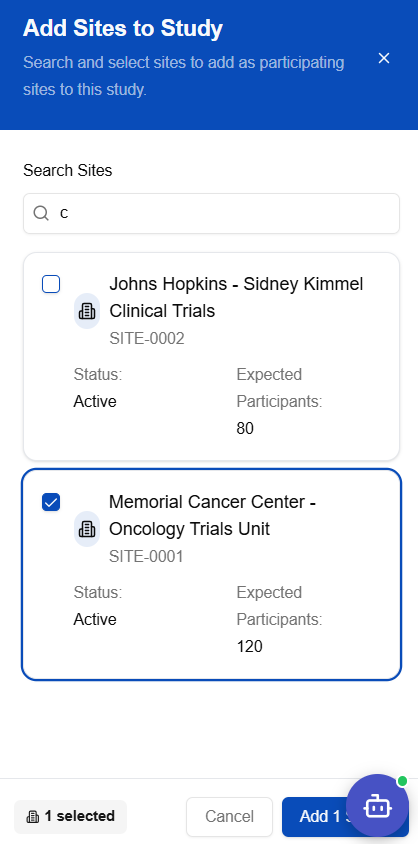
- Confirm the assignment — the site now appears on the Sites tab:
Step 4: Assign Study Personnel
Add team members who will manage the study at each site.
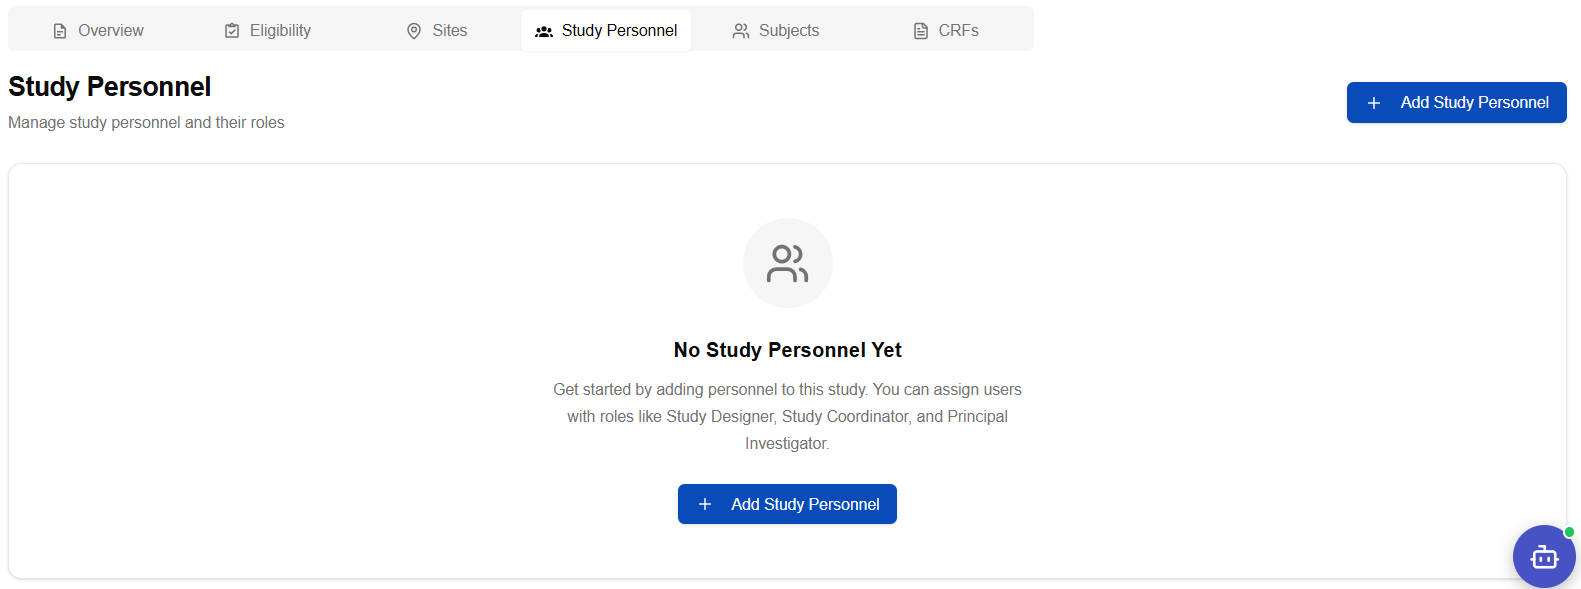
- Navigate to the Study Personnel tab
- Click Add Personnel
- Search for and select users from the panel:
- Configure the role for each person using the role selection panel:
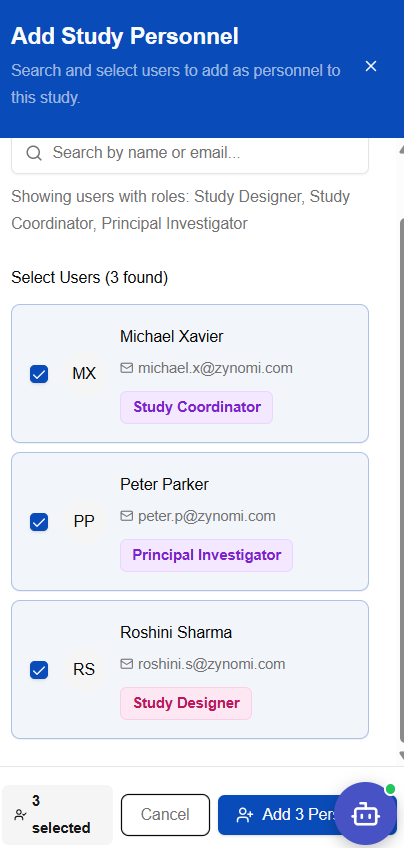
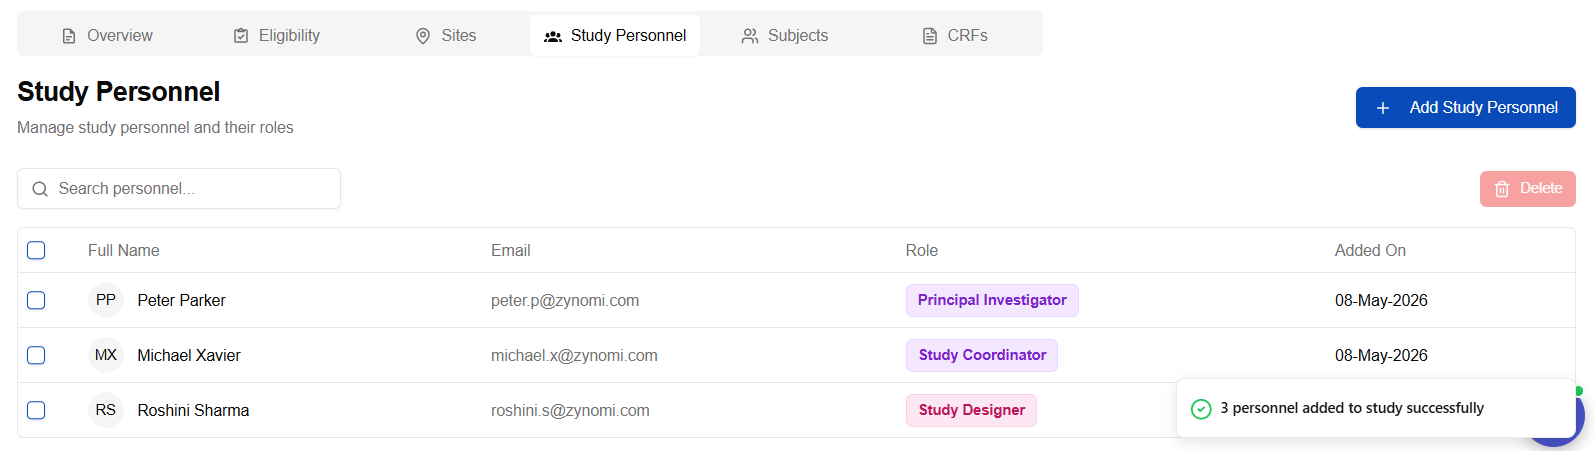
| Role | Responsibility |
|---|---|
| Study Coordinator | Day-to-day operations, subject data entry |
| Principal Investigator | Clinical oversight, read-only review |
Step 5: Assign Subjects
Enroll participants (subjects) into the study.
- Navigate to the Subjects tab
- Click + Add Subjects
- Search for patients from the patient registry and select them
- Confirm the site assignment and click Add Participants
For a detailed walkthrough of the enrollment process including screenshots, see Subject Enrollment.
Step 6: Assign eCRFs
Attach the electronic Case Report Forms used for data capture.
Ensure the required eCRF forms have been created before this step. See Creating e-CRFs for instructions.
- Navigate to the CRFs tab
- Click Add CRF
- Select from available CRF templates
- Click Add to link the CRF to the study
After Publishing
Once the study is published:
- Study Coordinators begin data collection
- Subjects complete visits and eCRF data is captured
- The study continues until the expected end date or completion
Quick Reference
| Step | Tab | Action |
|---|---|---|
| 1 | Overview | Create study with basic details |
| 2 | Eligibility | Define participant criteria |
| 3 | Sites | Link trial sites |
| 4 | Study Personnel | Add coordinators and investigators |
| 5 | Subjects | Enroll participants |
| 6 | CRFs | Attach data collection forms |